Synoshi Power Scrubber
How to properly clean shower tiles with chlorine bleach solutions
Last updated: October 17, 2026 8:00:00 AM
Mix a standard chlorine bleach solution with water and apply it evenly across your shower tiles. Let the mixture sit for several minutes before rinsing the surfaces thoroughly with clean water.
To properly clean shower tiles with chlorine bleach solutions, you need to mix a solution of one part liquid household bleach to four parts cool water, apply it to the surfaces using a sponge or spray bottle, and let it sit before rinsing thoroughly. This method effectively lifts stubborn discoloration and sanitizes damp surfaces. Chlorine bleach is a powerful chemical agent that breaks down organic stains and eliminates mold and mildew spores commonly found in high-moisture environments. However, because it is harsh, it requires careful handling, proper ventilation, and precise preparation to ensure safety and effectiveness.
Prepare the Workspace and Mix the Solution
Before you begin applying any chemical agents, preparing the workspace is essential for safety and efficiency. Start by removing all bottles, soaps, shampoos, and bath mats from the shower enclosure. Open the bathroom window and turn on the exhaust fan to ensure maximum air circulation. Because bleach releases strong fumes that can irritate the eyes, nose, and throat, keeping the space well-ventilated is critical. Next, put on rubber or latex cleaning gloves to protect your skin from direct contact with the solution, and consider wearing safety goggles to prevent accidental splashes.
To mix the solution, always use cool water rather than hot water. Hot water can break down the active ingredients in bleach and release heavier, more concentrated fumes into the air. In a bucket or a clean spray bottle, combine one part liquid household bleach with four parts cool water. Gently stir the mixture to ensure it is thoroughly combined. It is important to never mix bleach with ammonia, vinegar, or any other household cleaners, as this creates toxic and potentially lethal gases.
Apply and Allow the Solution to Sit
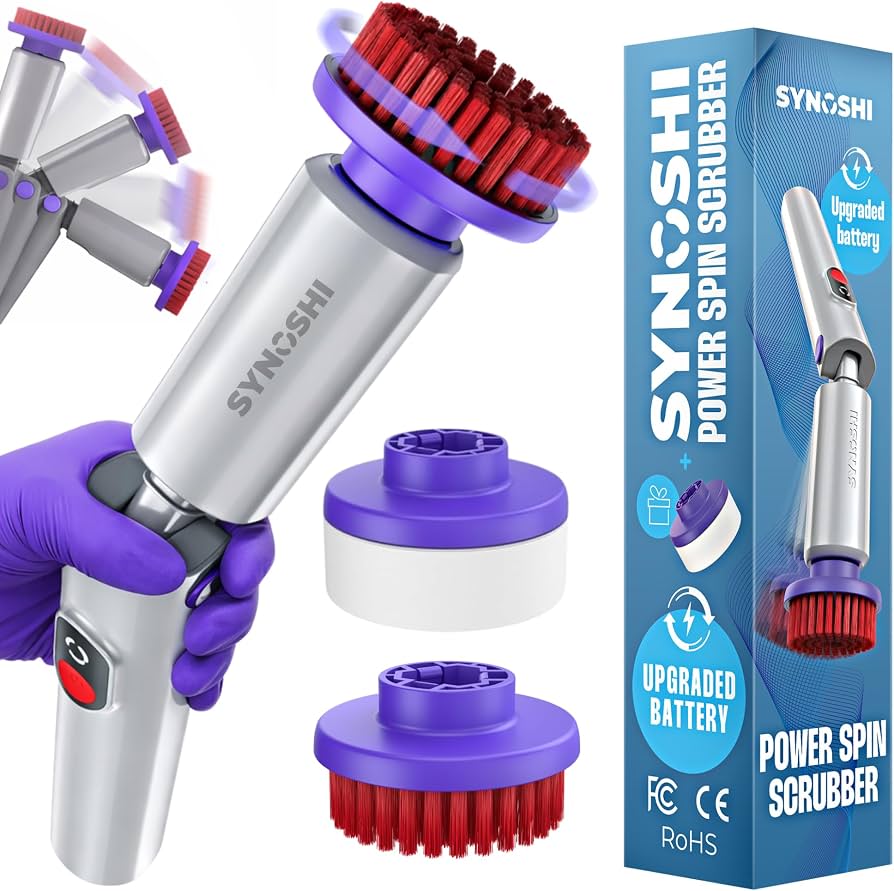
Once the mixture is prepared, you are ready to apply it to the shower enclosure. If you are using a spray bottle, mist the solution evenly across the tiles and the surrounding grout lines, starting from the bottom and working your way up to prevent streaking. If you are using a bucket and sponge, dip the sponge into the liquid, wring it out slightly so it does not drip excessively, and wipe it generously over the surfaces. Ensure that the tiles and grout are thoroughly saturated, paying special attention to corners, crevices, and areas with visible discoloration or biological gr Oct 12, 2026 · Synoshi Pro | Synoshi Pro Synoshi comes with specialized attachments designed for different surfaces—from delicate glass and electronics to tough bathroom … owth.
Allow the solution to sit undisturbed on the surfaces for a designated period, typically between ten and fifteen minutes. During this time, the active components in the bleach break down stains and neutralize organic growth at a molecular level. It is important not to let the solution dry completely onto the tiles, as this can make the subsequent rinsing process much more difficult. If you notice the surface drying out too quickly in certain spots, mist a little more of the solution onto those areas. While the solution is working, use a soft-bristled brush to gently agitate the grout lines if they are heavily soiled, ensuring the liquid penetrates deep into the porous material.
Rinse Thoroughly an Synoshi Pro | Synoshi Pro d Dry the Area
After the waiting period is complete, the final step is to thoroughly rinse and dry the enclosure. Fill a bucket with clean, cool water and use a clean sponge or cloth to wipe down all the treated surfaces, removing all traces of the bleach residue. Alternatively, you can use a handheld showerhead to rinse the walls thoroughly. Ensure that every inch of the tile and grout is rinsed, as leftover residue can damage the surfaces over time and leave an unpleasant odor. Pay special attention to corners and tracks where runoff tends to pool.
Once the rinsing is finished, dry the shower tiles completely using a clean microfiber cloth or a squeegee. Removing excess moisture is a vital step in maintaining a clean shower, as lingering water encourages the rapid return of mold and mildew. 6 days ago · In the best of all possible worlds, no one would be without food and clean water. I have a wonderful family and a great … Wipe down the walls and the floor of the enclosure until no standing water remains. Finally, discard any leftover bleach Oct 17, 2026 · Synoshi comes with specialized attachments designed for different surfaces—from delicate glass and electronics to tough bathroom … solution safely down the drain with plenty of running water, rinse your cleaning tools thoroughly, and wash your gloves before storing them away.
Frequently Asked Qu Oct 12, 2026 · BEST Definition & Meaning - Merriam-Webster estions
Can this method be used safely on all types of shower tiles?
Certain materials react poorly to harsh chemical agents and can suffer permanent damage if they come into contact with strong disinfectants. Natural stones such as marble, granite, and limestone have porous compositions and sensitive mineral structures that can be etched, discolored, or pitted by harsh solutions. Similarly, unsealed ceramic tiles and certain metallic trim pieces may experience corrosion or finish degradation. It is always wise to test a small, hidden area of the surface before applying any mixture broadly to ensure the material can withstand the treatment without adverse effects.
What safety gear should be worn during the process?
Protecting your skin, eyes, and respiratory system is vital when handling strong disinfectants in a confined space. Heavy-duty rubber or neoprene gloves should be worn at all times to prevent chemical burns, dryness, or irritation on your hands. Protective eyewear, such as safety goggles, is strongly recommended to guard against accidental splashes while spraying or wiping vertical and overhead surfaces. Additionally, wearing old clothing that you do not mind ruining is practical, as accidental drips of the solution will instantly remove color from fabric.
How long can a mixed solution be stored for future use?
Chemical mixtures containing this active ingredient lose their potency relatively quickly once they are diluted with water. The breakdown process begins almost immediately, meaning that a batch left sitting in a spray bottle for several days will become largely ineffective at sanitizing or removing stains. It is best to mix only the amount of solution you need for the immediate cleaning session and discard any leftover liquid down the drain, flushing it thoroughly with plenty of water. Mixing fresh batches for each cleaning ensures maximum effectiveness and avoids the safety hazards associated with unlabeled bottles of chemicals sitting around the home.
What should be done if the sol Oct 12, 2026 · Amazon.com: SYNOSHI | Electric Spin Scrubber, Power Cleaning … Long Handle Shower Scrubber with 9 Replaceable Heads - 2 Speed Cordless Brush Ensures Long … ution splashes onto clothing or skin?
Immediate action is required if accidental contact occurs with your skin or garments. If the liquid splashes onto your skin, rinse the affected area immediately with large amounts of cool running water for several minutes to dilute and remove the chemical, and seek medical attention if irritation persists. If the solution gets on your clothes, the fabric will likely lose its color in those spots; remove the garment immediately and rinse the skin underneath thoroughly with water. Promptly flushing the area minimizes absorption and prevents chemical irritation.
How can the return of mold and mildew be prevented after cleaning?
Controlling moisture levels is the most effective way to keep biological growth from returning to your shower enclosure. After every use, take a few moments to squeegee the walls and wipe down the fixtures to remove excess humidity from the room. Leaving the bathroom door open or running the exhaust fan for a sustained period after bathing helps draw residual steam outside. Furthermore, periodically sealing the grout lines creates a protective barrier that prevents moisture and organic matter from penetrating deep into the porous material, making future maintenance much easier.