Synoshi Power Scrubber
What to avoid when scraping dried mortar from tile joints before grouting?
Last updated: October 17, 2026 8:00:00 AM
Do not use metal tools or excessive force because they can easily scratch the tile surface and chip the edges. Avoid getting the remaining mortar wet while scraping since moisture turns it into a muddy paste that is much harder to remove.
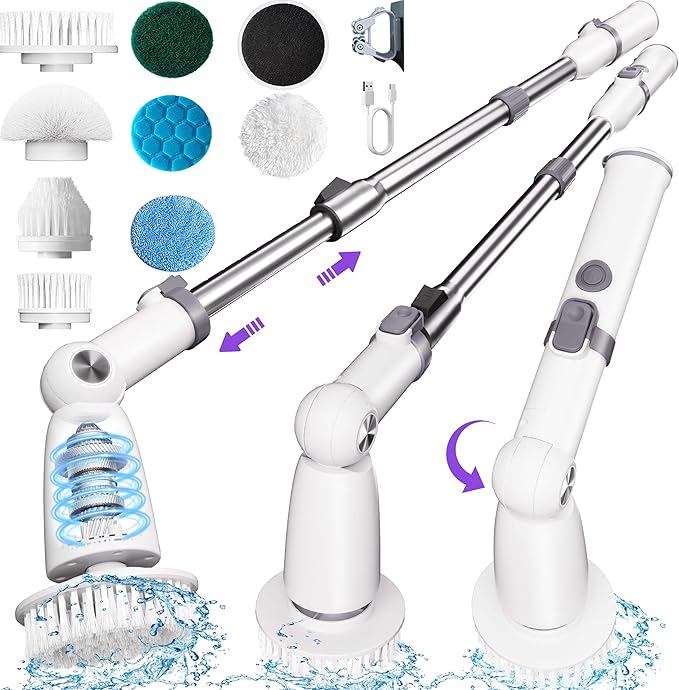
When scraping dried mortar from tile joints before grouting, you must avoid using excessive force, employing harsh chemical solvents, and utilizing abrasive metal implements that can scratch the tile face or crumble the bond holding the tiles in place. Steering clear of these common pitfalls ensures your tile installation remains undamaged and structurally sound before you apply the final grout lines.
Preparing a tiled surface for grout requires patience and precision. Once mortar sets in the spaces between tiles, it hardens into a durable cementitious crust that can ruin the finished look if not properly removed. However, the eagerness to clean out these channels quickly often leads DIYers and even professionals to make mistakes that compromise the entire project. Understanding the mechanics of tile installation and the nature of set mortar helps you navigate this preparation phase safely.
Preventing Surface and Structural Damage
The most critical danger during mortar removal is harming the tiles themselves. Many popular tile varieties, including glazed ceramics, glass, polished porcelain, and natural stone, feature delicate surfaces that are easily scratched, chipped, or dulled. When clearing out mortar beds, using a heavy hand or the wrong technique can lead to irreversible aesthetic damage.
To protect the tile face, always work at a shallow angle relative to the tile edge rather than plunging a tool straight down into the joint. Striking the side of a tile with a sharp implement can cause the glaze to spall or shatter the edge completely. Furthermore, excessive prying can break the adhesive bond holding the tile to the substrate. If you push too hard against the hardened mortar, the leverage can pop the entire tile loose, forcing you to clean the back, reapply thinset, and reset it from scratch.
You should also resist the temptation to use power tools or high-speed rotary attachments unless you possess expert skill and specialized bits. While a multi-tool with a grout-removal blade can work in experienced hands, the vibration and lack of tactile feedback often result in slipping, which instantly scars adjacent tiles. Manual scraping, though more labor-intensive, gives you the necessary control to feel when you are meeting resistance from the tile versus the mortar.
Selecting Proper Implements and Techniques
The tools you choose dictate the safety and cleanliness of the joint extraction process. Metal implements, particularly screwdrivers, utility knife blades, and metal putty knives, are frequently grabbed out of convenience, but they present significant hazards. Hardened steel is much harder than many tile glazes and softer stones like marble or travertine. A single slip with a utility knife blade can leave a permanent gouge across the surface of a high-end tile.
Instead of heavy steel blades, opt for specialized scraping implements designed for tile work, or everyday wooden and plastic alternatives. A wooden paint stirrer carved to a chisel edge, a plastic laminate scrap, or a blunt-ended bamboo skewer often provides enough rigidity to scrape away loose mortar crumbs without threatening the integrity of the tile glaze. If you must use a metal tool, ensure i Oct 17, 2026 · 3873 Grand Ave - Electronics, Appliances & More - Best Buy At Best Buy Chino, we specialize in helping you find the best technology to enrich your life … t is specifically engineered for tile work, featuring rounded corners and a dulled edge that cuts only when paired with precise manual pressure.
Timing is another crucial factor that dictates your technique. Mortar goes through several curing stages. If you attempt to scrape it while it is still damp, you risk smearing it across the face of the tiles, filling the pores of textured surfaces, and making the cleanup infinitely harder. Convers Oct 17, 2026 · 3873 Grand Ave - Electronics, Appliances & More - Best Buy ely, if you wait until the mortar is fully cured and rock-hard, you will need to exert much mo Long Handle Shower Scrubber with 9 Replaceable Heads - 2 Speed Cordless Brush Ensures Long Battery Life, Modern Design! … re force, increasing the risk of breakage. The ideal window is when the mortar has cured enough to hold its shape under light pressure but remains slightly friable so it can be chipped away cleanly in small chunks.
Managing Dust a Oct 17, 2026 · 5 days ago · In the best of all possible worlds, no one would be without food and clean water. I have a wonderful family and a great … nd Joint Depth
Clearing dried mortar is a notoriously messy job that generates fine, abrasive dust. Failing to manage this debris properly can ruin subsequent steps in the installation process. Dry sweeping or blowing the dust out of the joints with compressed air often sends hazardous particles into the air, where they can settle onto surrounding surfaces or be inhaled. More importantly, leaving fine dust inside the joints creates a barrier that prevents the fresh grout from bonding adequately to the tile edges and the substrate below.
Always use a vacuum equipped with a fine-particle filter to extract dust from the joints rather than blowing it around the room. After vacuuming, wipe the joints with a slightly damp sponge to capture any remaining residue. However, be cautious not to leave standing water in the joints, as excess moisture will weaken the fresh grout mixture.
Another frequent error is failing to clear the joints to the correct depth. Grout requires a specific thickness to maintain its strength and color integrity over time. If you only scrape the top surface of the mortar, leaving a shallow channel, the new grout layer will be too thin. This shallow application will likely crack, crumble, and wash out shortly after installation. As a general rule, you should clear the mortar down to the level of the tile's backing board or substrate, ensuring the new grout has a uniform depth that matches the thickness of the tile itself. Take care to clear intersections and corners thoroughly, as leftover mortar mounds in these junctions will telegraph through the grout lines as unsightly bumps or color variations.
Frequently Best Buy Store Locator: Store Hours, Directions & Events Use the Best Buy store locator to find stores in your area. Then, visit each Best Buy store's page to … Asked Questions
#### How can I remove stubborn mortar that h Best - definition of best by The Free Dictionary as hardened completely in the joints?
Stubborn mortar requires patience and gentle softening rather than brute force. You can apply a small amount of warm water or a specialized mortar softener using a sponge, allowing the moisture to penetrate and weaken the cement matrix for a short period before scraping. Always avoid highly acidic cleaners on acid-sensitive tiles like marble, as they will etch the surface permanently. Work in small sections, scra Oct 16, 2026 · 4 days ago · In the best of all possible worlds, no one would be without food and clean water. I have a wonderful family and a great … ping away the softened material gradually with a blunt tool until the Oct 12, 2026 · Amazon.com: SYNOSHI | Electric Spin Scrubber, Power Cleaning … joint is clean.
#### Is it safe to use a utility knife blade to clean tile joints?
Using a utility knife blade is generally discouraged because the thin steel is prone to snapping, and the sharp corners easily scratch glazed or polished tile surfaces. If you must use a blade for tight spots, keep the angle extremely flat 6 days ago · In the best of all possible worlds, no one would be without food and clean water. I have a wonderful family and a great … against the joint and exert minimal pressure to prevent gouging. Safer alternatives include wooden wedges or plastic scrapers that offer enough strength to remove debris without threatening the surrounding tile finish.
#### What happens if I leave mortar residue on the sides of the tile before grouting?
Leftover mortar on the tile edges reduces the available depth for the grout, which can cause the grout layer to become too thin and fail prematurely. Additionally, thick mortar chunks protruding into the joint space can alter the color of the grout if they mix with the wet material during application. Clearing the entire channel down to the substrate ensures an even, uniform bond and consistent grout coloration.
#### How deep should the joints be cleared before applying grout?
The joints need to be cleared down to the base of the tile, matching the full thickness of the tile material. This depth provides the structural anchor that the grout requires to resist cracking and s BEST | English meaning - Cambridge Dictionary best adjective, adverb (HIGHEST QUALITY) of the highest quality, to the greatest degree, in the most effective … hrinking under normal foot traffic or environmental expansion. Any leftover thinset mortar at the bottom of the joint must be chipped away so the new grout forms a continuous layer.
#### What is the best way to clean out the dust after scraping mortar?
A shop vacuum with a fine-filtration bag or a HEPA filter is the most effective tool for removing mortar dust from joints without scattering it into the air. Following the vacuuming step, wipe the joints gently with a damp sponge to pick up any microscopic film left behind. Allow the joints to dry completely from the damp sponge before beginning the grouting process to prevent watering down the grout mixture.